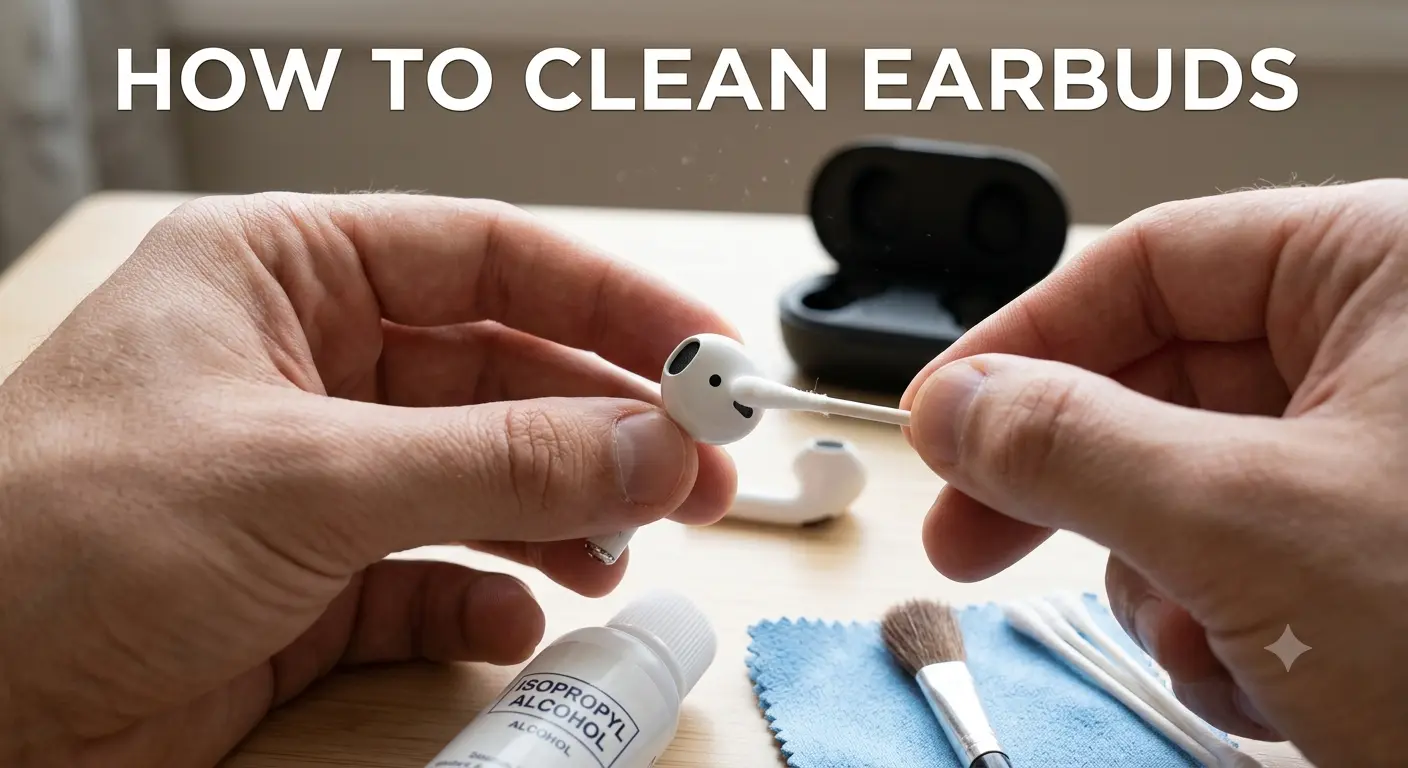
Earbuds Cleaning Guide: Safely Clean Airbuds, Mesh and Charging Case
Your earbuds go deep into your ears every single day. They collect sweat, skin oils, and earwax without you even noticing. Over weeks that invisible buildup hardens and blocks your audio. Suddenly your sound feels muffled and your ears feel irritated.
The good news is the fix costs nothing. A few household items and a few minutes are all you need to clean earbuds and bring them back to their best. This guide works for AirPods, Galaxy Buds, JBL, Bose, and every other brand out there.
Why Keeping Your EaSound Testrbuds Fresh Actually Matters
Most people only think about this when something already feels wrong. By that point the damage has been building quietly for weeks.
What Builds Up Inside Your Earbuds
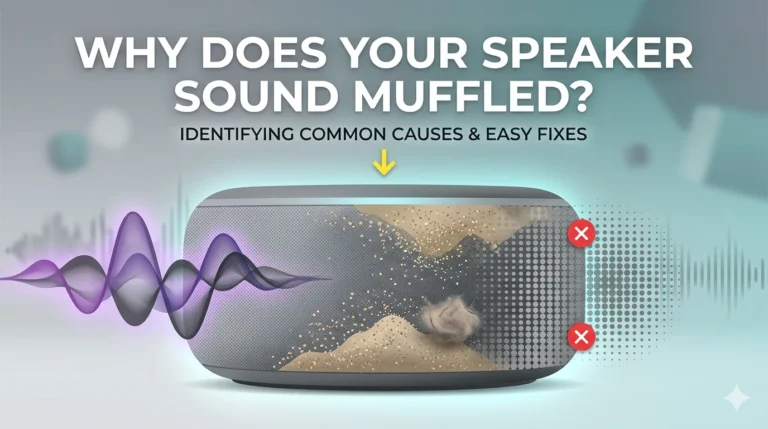
Every time you press an earbud into your ear canal it picks up a thin layer of wax and moisture. Sweat from workouts adds oils and salt to the mix. Dust from bags and pockets fills the tiny gaps in the speaker mesh. Over time all of it hardens and starts blocking the sound pathway.
How Dirty Earbuds Affect Your Hearing and Health
A blocked mesh muffles your music and forces you to push the volume higher. Listening at higher volumes regularly puts extra strain on your hearing. Earbuds pressed against your ear canal while carrying bacteria can also trigger irritation and outer ear infections. A quick weekly clean protects both your gear and your ears at the same time.
What to Gather Before You Start
You do not need any special products for this. Everything on this list is probably already somewhere in your home.
- A soft microfiber cloth or any lint-free fabric
- Cotton swabs from any pharmacy
- A soft-bristled brush such as an old toothbrush or clean makeup brush
- Lukewarm water with one drop of gentle dish soap
- A wooden toothpick for tight corners
- Optional: a can of compressed air for stubborn mesh buildup
Stay away from bleach, strong alcohol, abrasive pads, and any liquid that could enter the internal electronics. These materials destroy the delicate driver components that produce your sound.
How to Clean Earbuds Step by Step
Work through each step in the correct order. Skipping steps is how people accidentally cause permanent damage to their audio gear.
Detach the Ear Tips First
If your earbuds have silicone or foam tips, slide them off gently before touching anything else. Pulling too hard can tear silicone or stretch it out of shape. Set the tips aside because they get cleaned separately from the main body.
Never scrub the mesh or body while tips are still attached. The tips trap moisture against the speaker covering and stop everything from drying out properly.
Wash the Ear Tips
For silicone tips, drop them into a bowl of lukewarm soapy water and let them sit for two or three minutes. Rub them gently between your fingers, rinse thoroughly, and lay them flat on a dry cloth. Do not reattach them until they are completely dry because damp tips trap moisture inside the nozzle.
For foam tips, skip soaking entirely. Foam holds water for a very long time. Press a slightly damp cloth against the surface, hold for a few seconds, then lift and repeat until the surface looks fresh.
Clear the Speaker Mesh
This is the most important step in the whole process. The mesh over the sound nozzle is where earwax hardens and blocks audio output the most. It is also the most delicate part so patience matters here.
This is the most important step in the whole process. The mesh over the sound nozzle is where earwax hardens and blocks audio output the most. It is also the most delicate part so patience matters here.
If wax has hardened on the mesh, press the tip of a wooden toothpick very gently against the edge of the buildup. Nudge it sideways rather than poking downward through the mesh. Brush away the loosened debris and finish with a dry cloth.
Wipe Down the Main Body
Fold your microfiber cloth into a small square. If stubborn smudges remain on the outer shell, breathe lightly onto the surface to add a tiny amount of natural moisture and wipe straight away. Never pour or spray any liquid directly onto the earbud body.
Work around every curve carefully. Pay extra attention to the seam where the tip connects to the body because dirt collects in that groove. On touch-sensitive earbuds keep this area especially clear since residue can interfere with gesture controls.
Clean the Charging Case Inside and Out
Your charging case spends most of its life inside bags, pockets, and desk drawers. It collects lint, dust, and grit constantly. That debris transfers directly onto your earbuds each time you dock them.
Take a dry cotton swab and roll it slowly around each charging pin inside the case. The rolling motion lifts dust away without pushing it deeper into the connector. Wipe the outside of the case with a slightly damp cloth and dry it right away. Never allow liquid to pool near the hinge or any port openings.
Brand Specific Tips Worth Knowing
Different earbud designs need slightly different approaches when you clean earbuds at home.
Cleaning AirPods and AirPods Pro
Apple recommends keeping all moisture away from the Lightning or MagSafe connector area on the case. For AirPods Pro, the ear tip attachment point uses a magnet. Wipe around it carefully and check that no small metallic particles are stuck to it after each session.
Cleaning Samsung Galaxy Buds
Samsung earbuds have a sensor area on the inner face of each bud. Only use a dry cloth on this surface because moisture causes irregular touch response. The charging contacts are small gold pins and a dry cotton swab rolled along them keeps the connection working reliably.
Cleaning JBL and Bose Earbuds
Both brands use a solid silicone tip system that tolerates a longer soak in soapy water well. Bose advises keeping alcohol away from the outer coating because it causes the soft-touch finish to peel. Use water only on the body of these models and nothing stronger.
How Often Should You Do This
The right frequency depends on how and where you use your earbuds every day.
After every workout, give both earbuds a quick wipe with a dry cloth before putting them back in the case. Sweat left to dry turns into a salty residue that slowly corrodes the charging contacts. Every week, brush the mesh lightly and wipe down the inside of the case with a cotton swab.
Every month, run through the full five-step process above including tips off, mesh cleared, and case thoroughly cleaned. If you use your earbuds outdoors in dusty areas, in the kitchen, or share them with others, do the full routine more often than once a month.
Things That Will Damage Your Earbuds
Cleaning earbuds the wrong way causes more harm than not cleaning at all. Avoid every item on this list without exception.
- ❌ Don’t submerge earbuds or charging case in water.
- ❌ Don’t use alcohol or bleach on speaker meshes.
- ❌ Don’t push sharp tools into the speaker holes.
- ❌ Avoid blowing compressed air directly into openings — it can force debris inside.
Frequently Asked Questions
Conclusion
Your earbuds work hard for you every single day. A few minutes of care each week keeps them performing exactly as they did when you first unboxed them.
Once you clean earbuds properly and the sound returns to its best, check your phone speaker too. Dust and moisture build up inside phone speakers just as silently. Visit fixmyspeakercleaner.net and run the free sound frequency tool to clear trapped debris from your phone speaker without any tools at all.